Achieving Fast & Effective Effects with Water Marbling on Glass
Are you looking for a fast, effective technique to achieve beautiful and eye catching results on your glass work, without spending weeks trying to figure it out as you go?
If you’ve ever tried to add a striking decorative finish to a glass piece, you’ll know the frustration. Many advanced techniques can be time consuming and rarely look as spontaneous as you want. Etching and sandblasting need equipment most home studios don’t have and the techniques that do promise quick, dramatic results have a reputation for being messy, unpredictable and hard to repeat the same way twice.
There is one technique that I have been using for many years now known as Water Marbling, that can achieve stunningly beautiful, successful results every single time when you know how to approach it correctly.
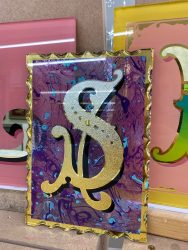
Water marbling done properly, is one of the fastest ways to get a genuinely eye catching, one of a kind pattern onto glass, often in minutes rather than hours. The problem isn’t the technique itself. Most people try it without knowing the handful of technical details that separate a clean, repeatable result from an unrefined and over mixed mess.
How I discovered Water Marbling with enamels onto my pieces
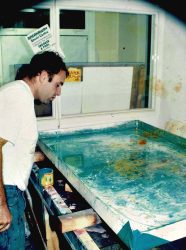
My journey with water marbling on glass began back in 1990 during my early sign writing days. I had been experimenting with vinyl and traditional marbling techniques, but one summer evening I decided to try something new, water marbling on the reverse side of glass. My initial test involved floating 1-Shot enamels on water and dipping the glass to pick up the pattern. It worked, but it lacked the sharp, crisp detail I was looking for. I realised I needed a glossy, sticky tack to lock in those fine lines.
I grabbed a can of clear varnish, hand-painted the glass and too excited to wait for it to fully dry, dipped it face down into the water pattern. Bingo! Water marbling on glass was born. The level of detail captured on the glass was incredible. Instantly my mind flooded with ideas for combining it with water gilding and airbrushing.
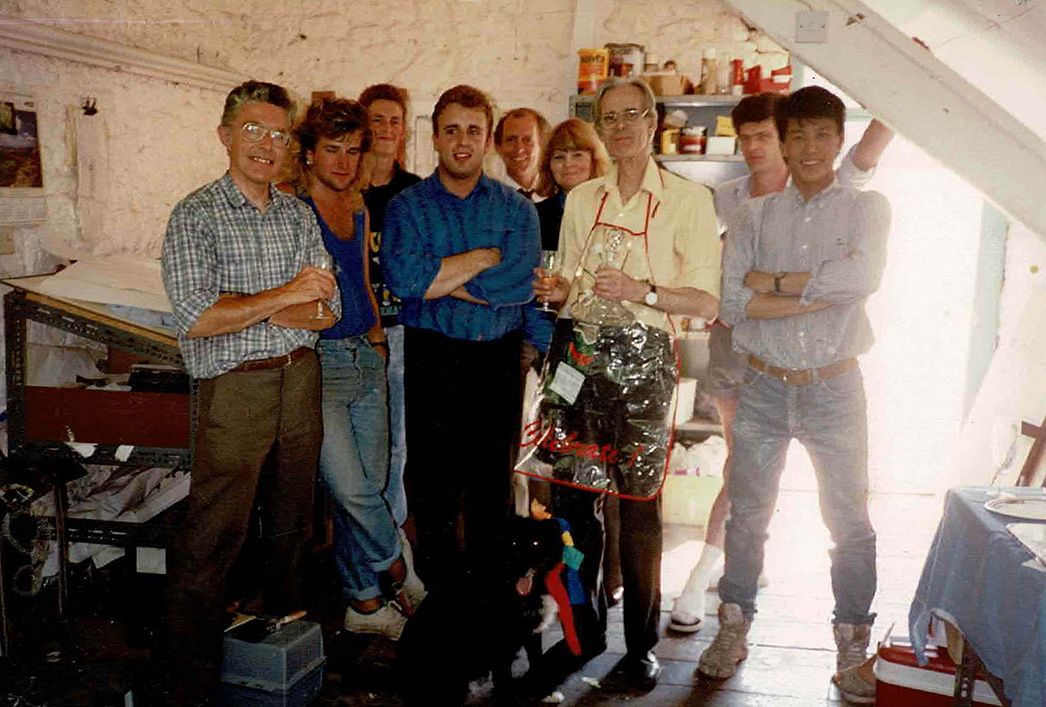
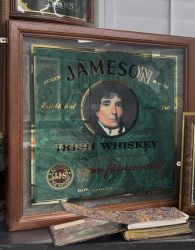
Before long, I was using this technique on local glass signs, international pubs, and even projects for Jameson Whiskey in Dublin. It looked stunning alongside traditional gold leaf. As fellow sign writers began asking how I achieved the effect, I started sharing the process, eventually embedding it into my in person classes.
What started in my small studio in Torquay, England, has now become a core technique used by sign writers, gilders, and glass artists all around the world. Over 20 years later, that late night workshop experiment remains one of my favourite discoveries to teach.

A brief history of Water Marbling
Water marbling is an old craft, its roots trace back over a thousand years to Suminagashi in Japan and later to Ebru in Turkey and Persia, where ink was floated on water and transferred onto paper. European paper marblers picked up the technique centuries later for book endpapers. Applied to glass, the principle is the same, colour floated and shaped on a water surface, then lifted onto a surface but glass adds its own demands, since the pattern has to survive contact with a smooth, non-porous surface and then be sealed permanently in place.
Here’s where most people go wrong in water marbling and why it’s fixable:
- The problem: colours diffuse, clump, or muddy together on the water surface. The fix: water temperature and paint consistency both need to sit in a fairly narrow range — get this right and colour behaves predictably every time.
- The problem: the pattern smears or distorts the moment the glass touches the water. The fix: the angle and speed of dipping are a specific, learnable technique.
- The problem: a beautiful wet pattern degrades, cracks, or dulls once dry. The fix: proper curing and sealing, done in the right order, permanently locks the effect in.
- Each of these is a small, specific adjustment. Once you know what to control, marbling stops being a gamble and becomes a technique you can rely on, piece after piece, without fuss in your own studio.
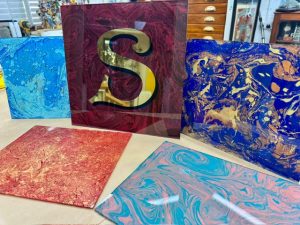
- Preparation & Materials: Tools, pigments, and surface setup for clean, reliable results.
- Marbling Techniques: Floating, swirling, and combining paints into classic patterns.
- Glass & Gold Application: Seamlessly combining marbled finishes with glass gilding and reverse-glass artwork.
- Finishes & Protection: Essential techniques for backing and sealing panels so your work lasts.
- Troubleshooting: Controlling colour behaviour and ensuring solid adhesion every time.