Glue Chipped Glass has to be one of the most intriguing techniques of reverse glass. I was first exposed to the glue chipping technique on glass while on holiday at the Disneyland Park in Aneheim, California around 1990.
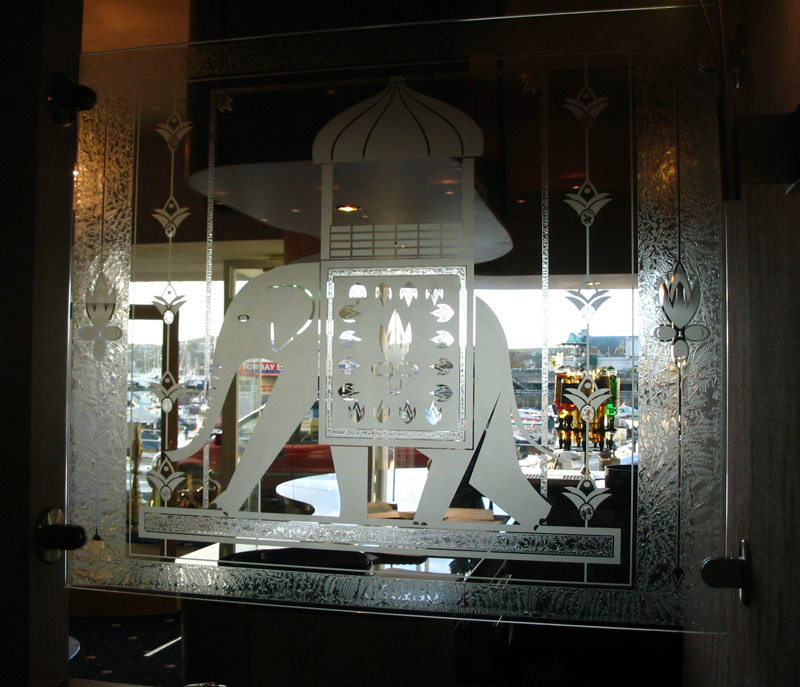
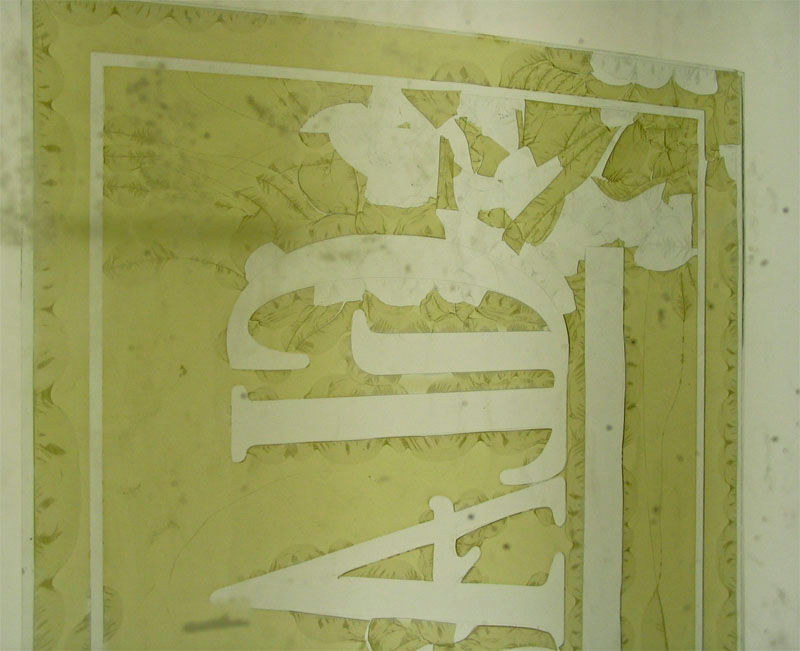
I was taken aback by the effect I was seeing, it was enough to fascinate any signwriter or gilder and it certainly got me thinking about possibilities within my work for this process. These images on this page show some experiments using the technique and in some of my work displayed here on the site.
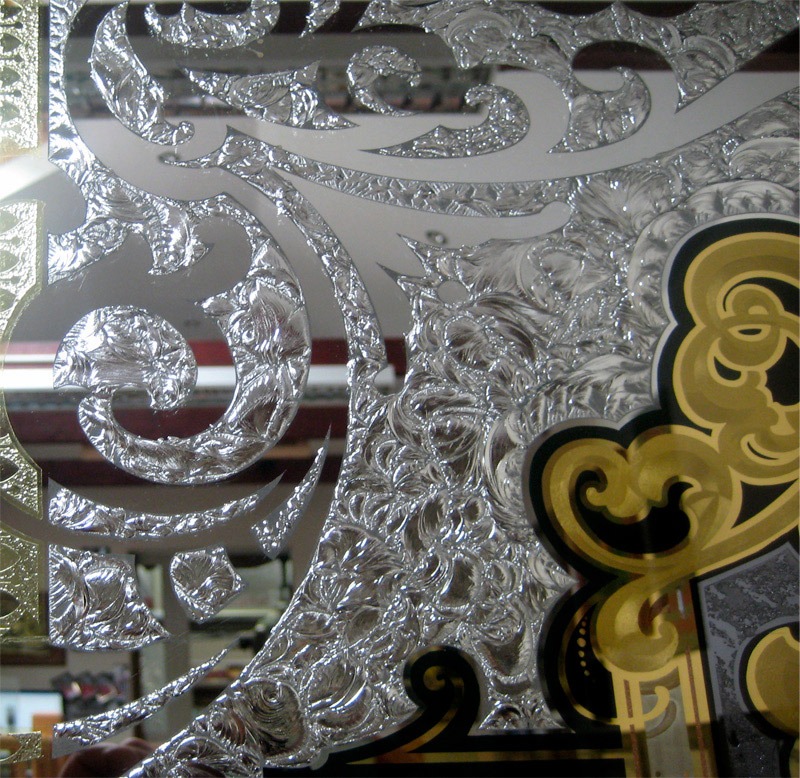
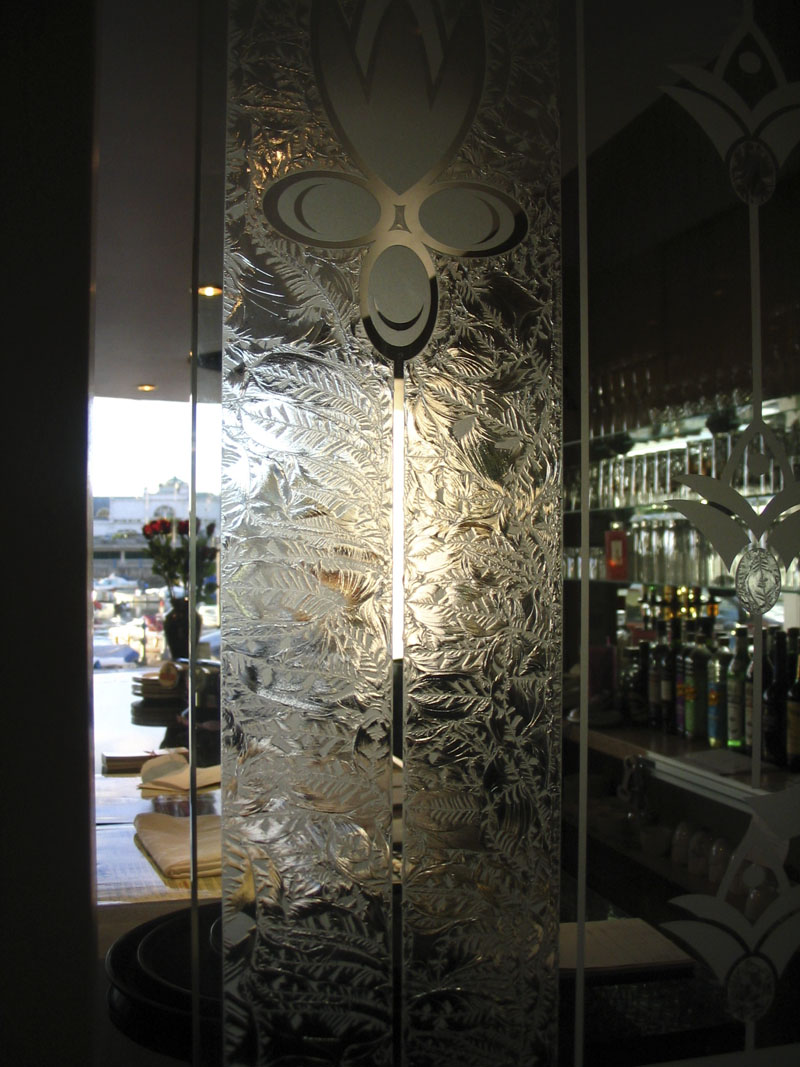
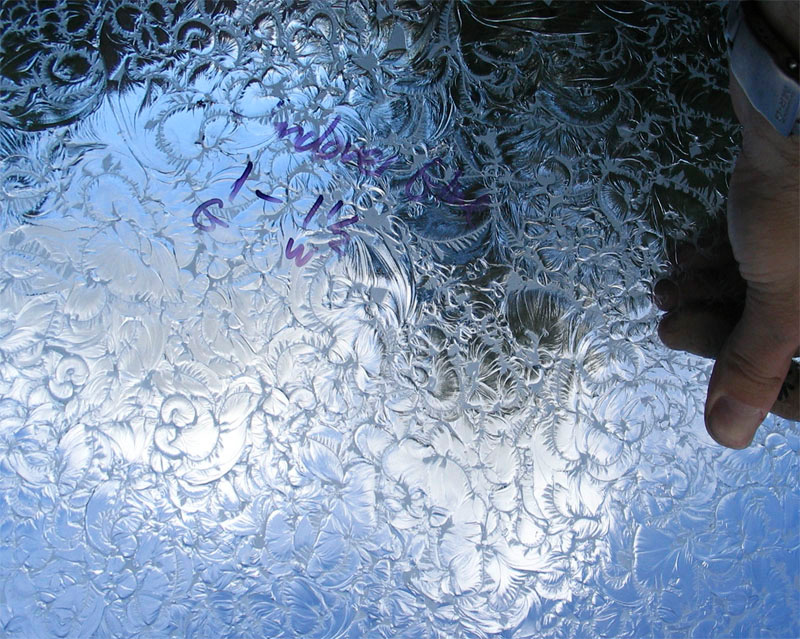
The process for chipping glass involves etching the glass first to give a “tooth” for the animal hide glue to adhere to and then slowly drying the glue.
As the glue dries it shrinks, exerting pressure on the glass surface, eventually chipping out shards of glass attached to the glue in a random pattern.
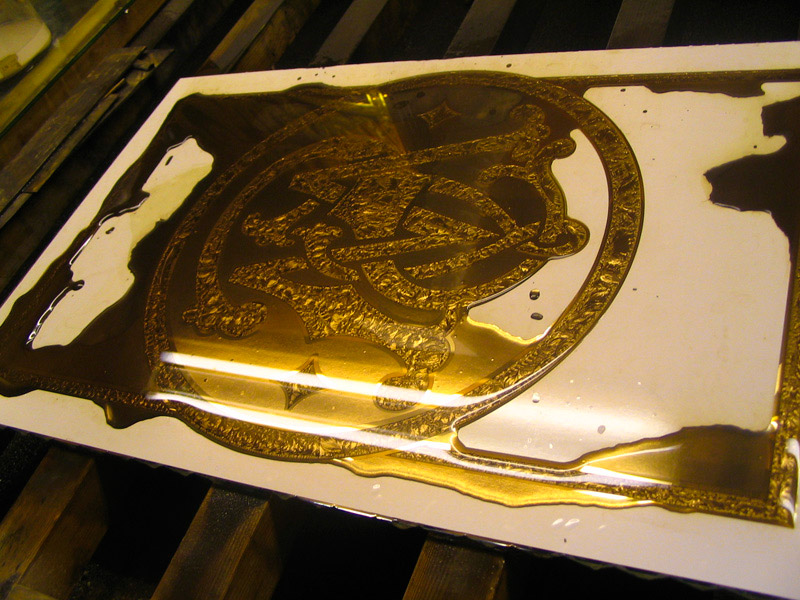
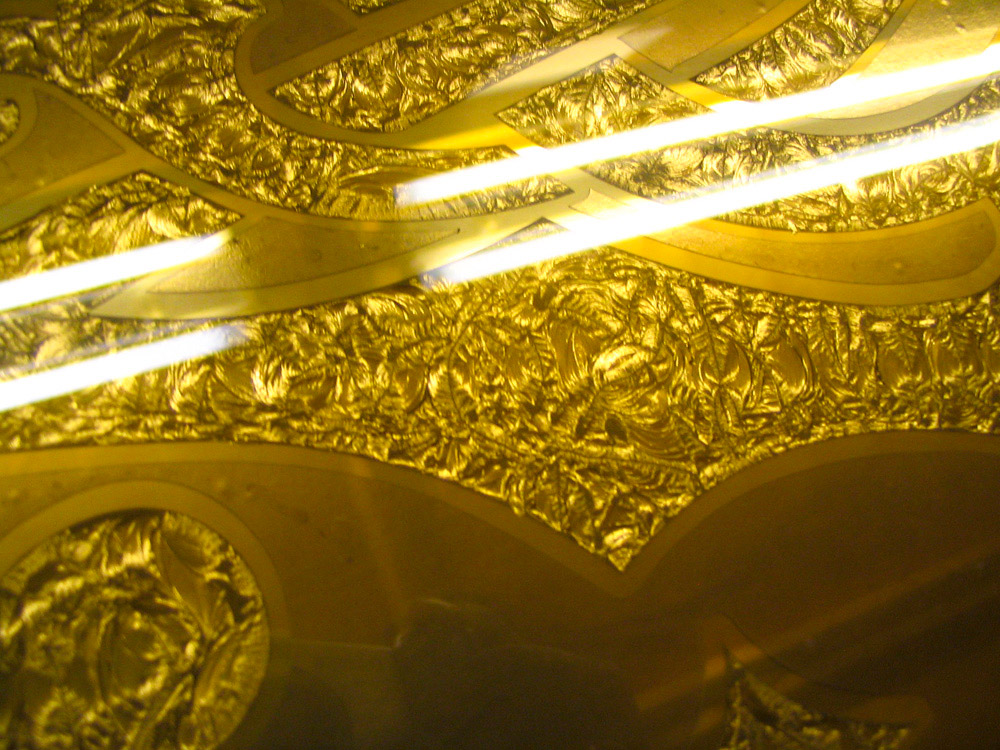
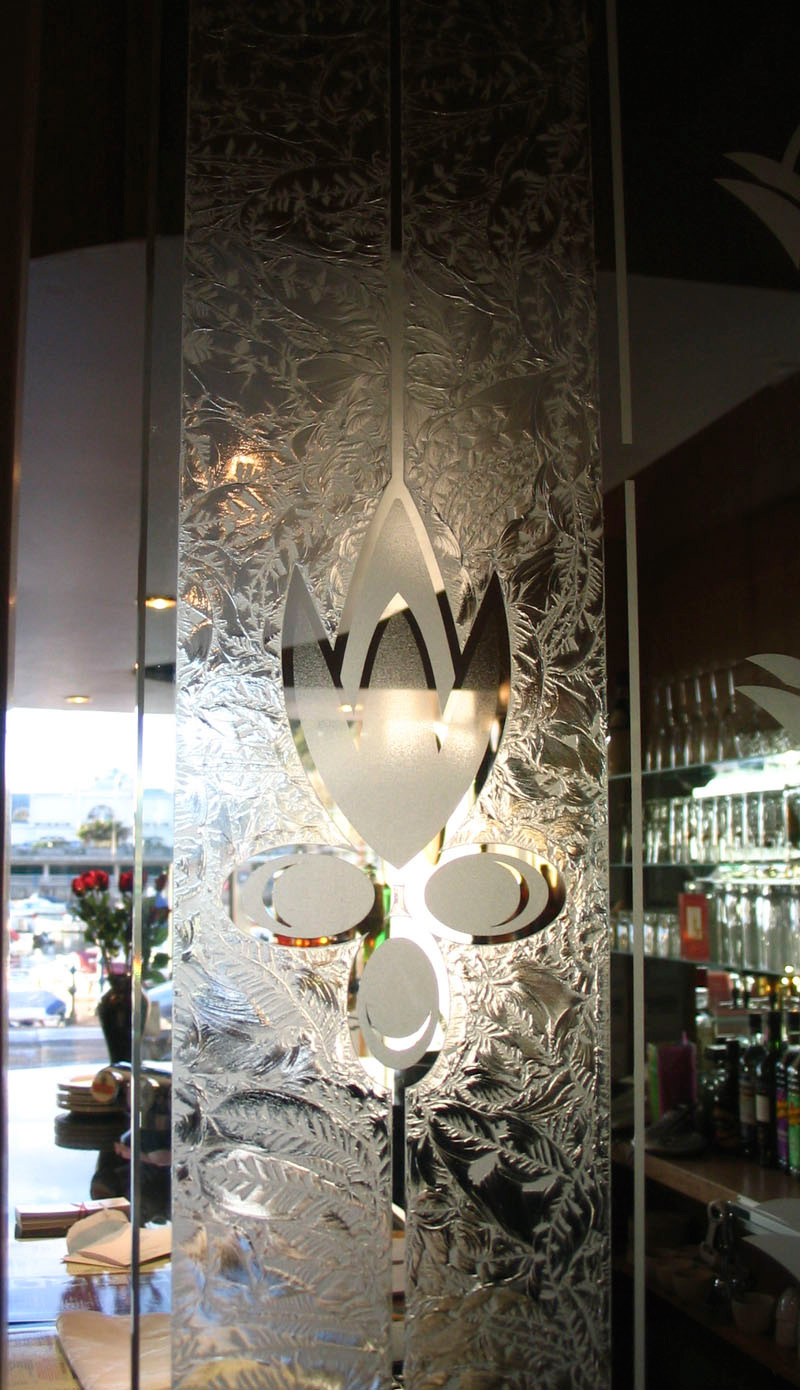
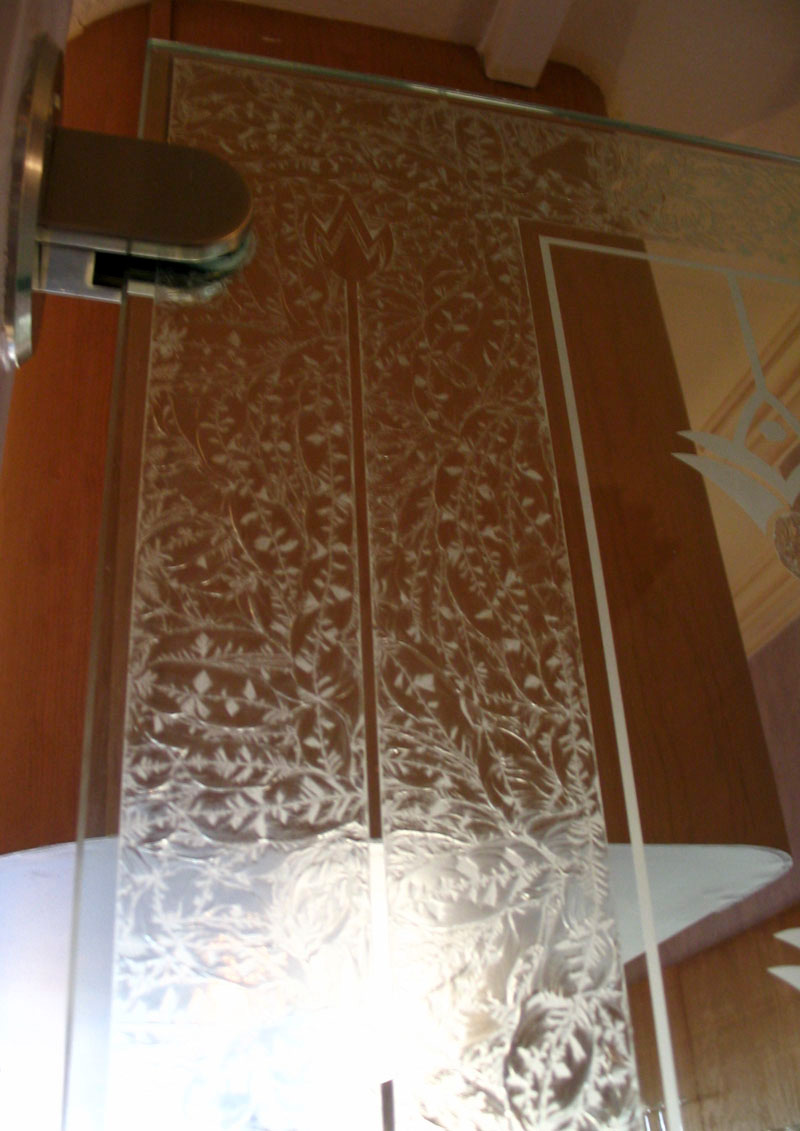
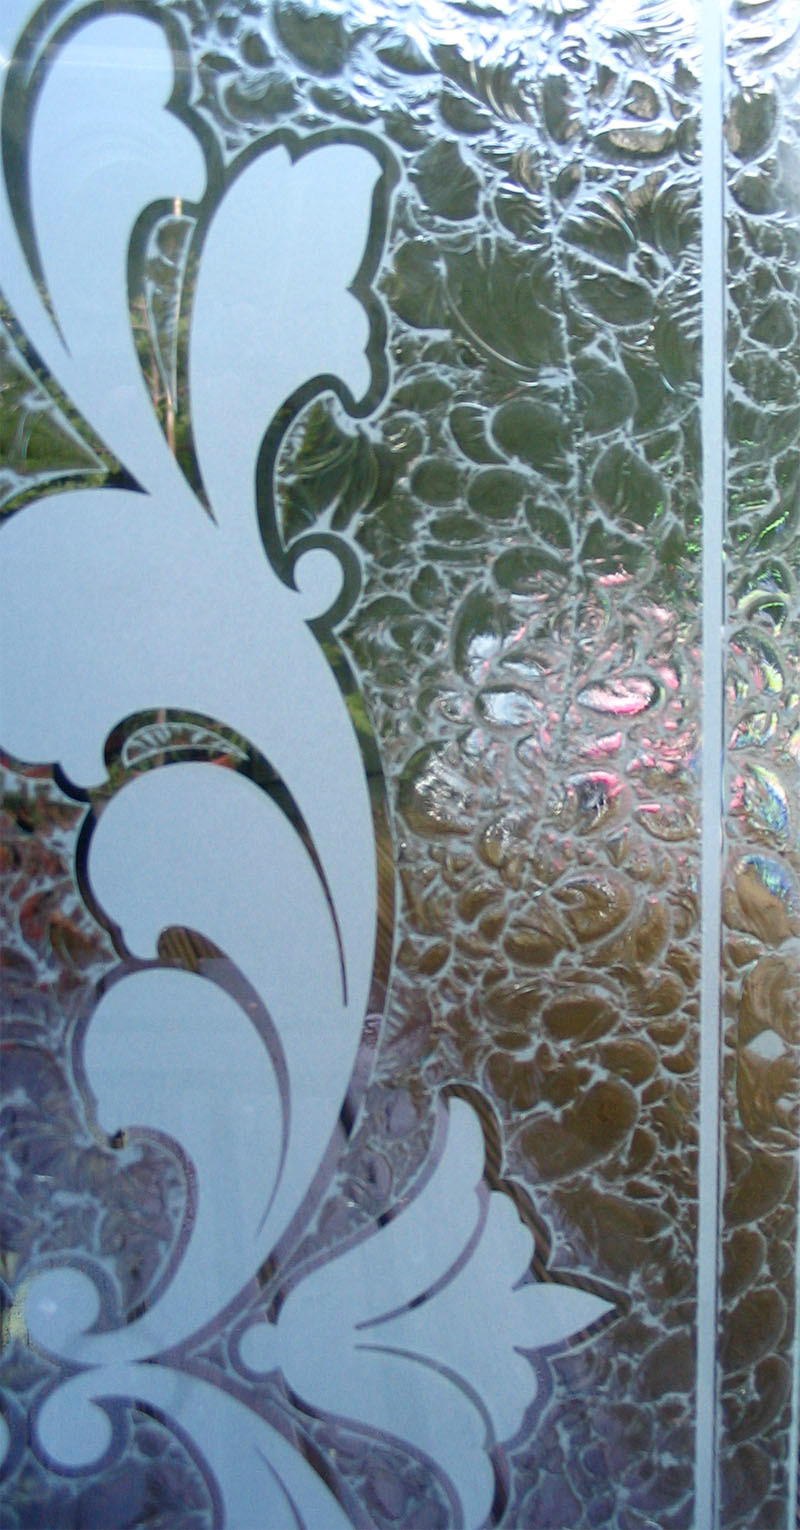
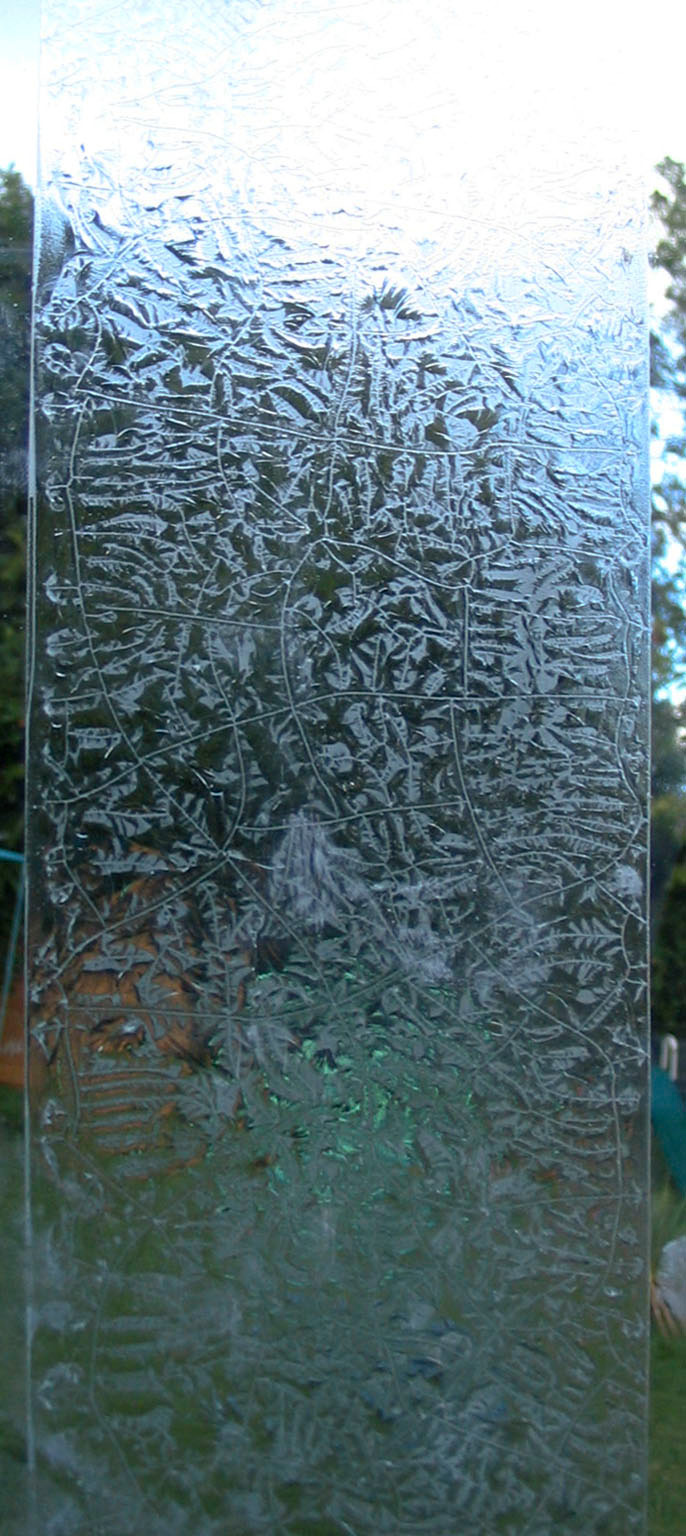
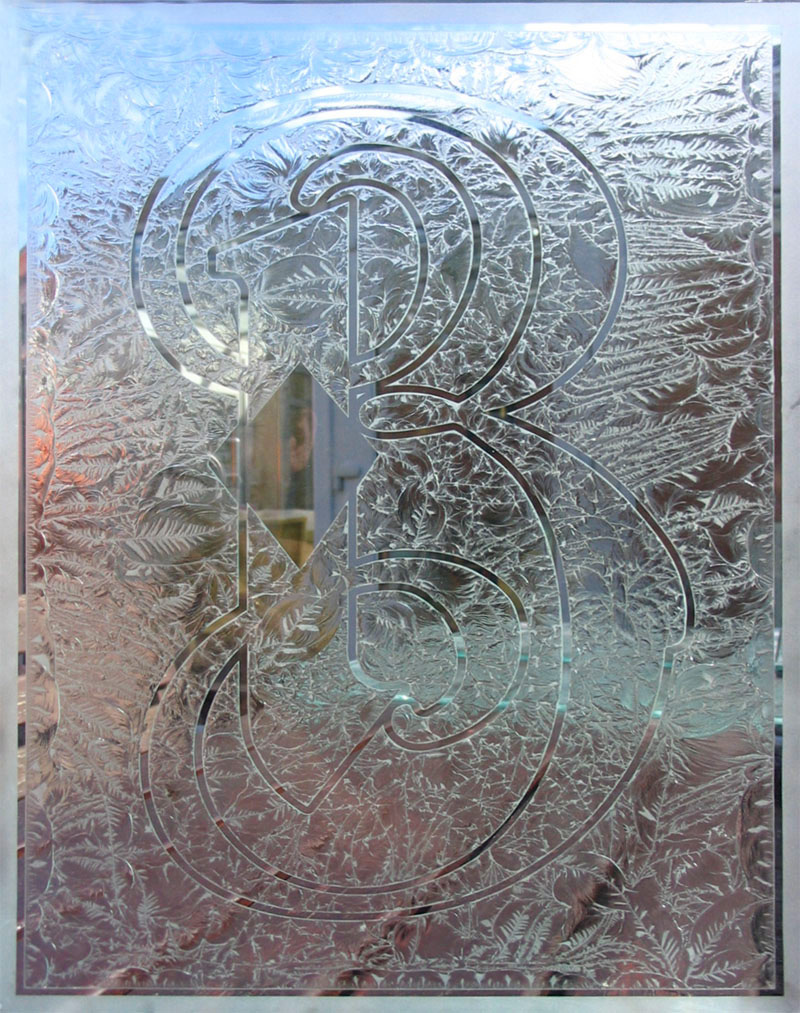
Depending on the mix and the drying speed of the glue, this pattern can appear like ferns, frosts on windows or snail shells.
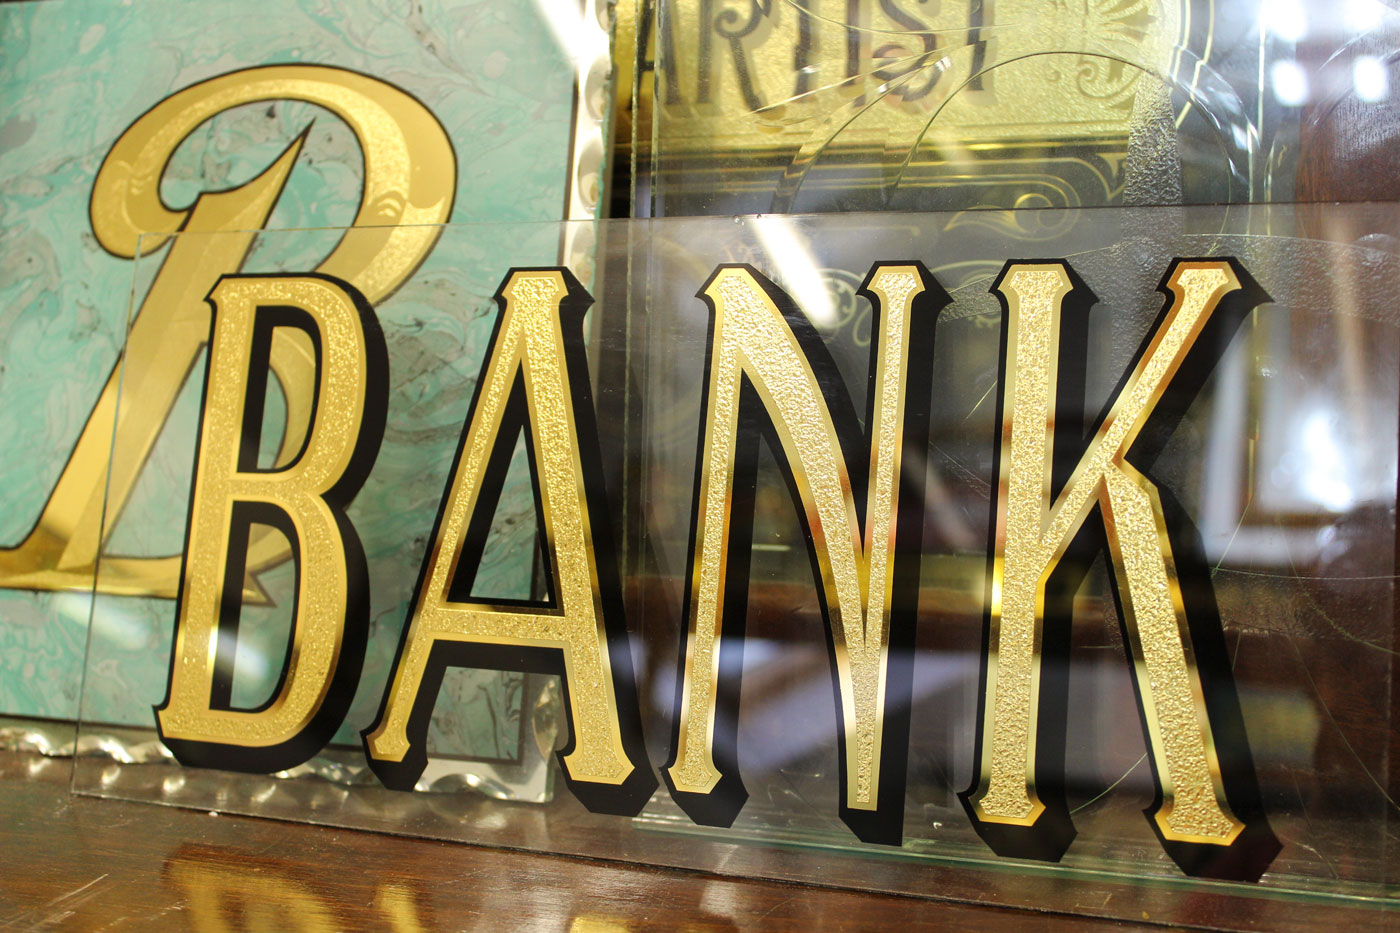
This is shown to its best advantage when chemically silvered or gilded, but can be finished in translucent paints as well.
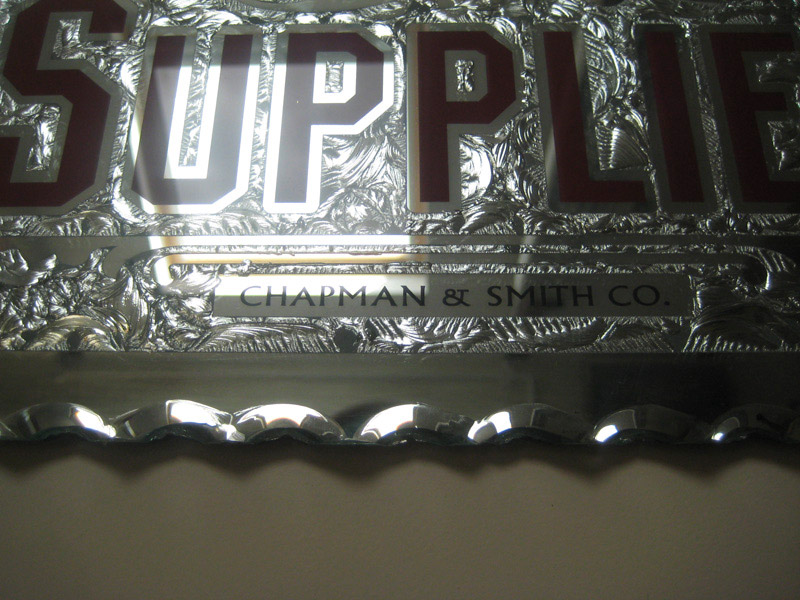
The technique was most prevalent at the turn of the century and was often incorporated in advertising mirrors and signs, particularly by the breweries and distilleries at that time.
Its uses were more wide spread in America and Great Britain than in Europe.
-

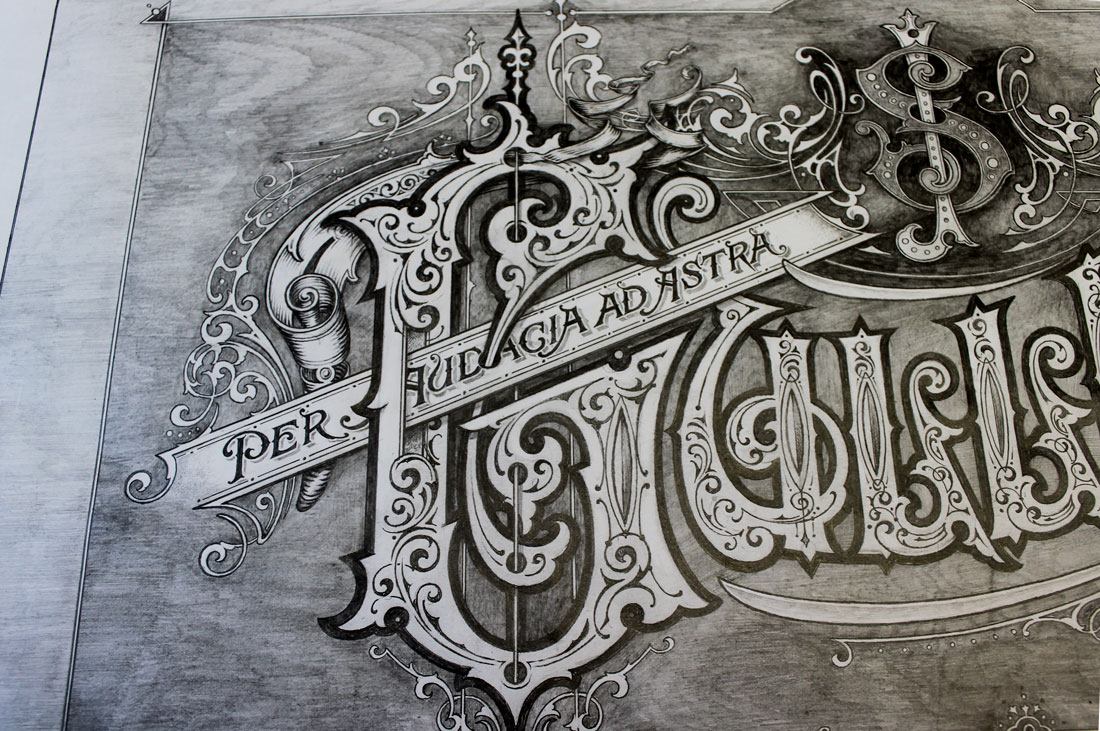
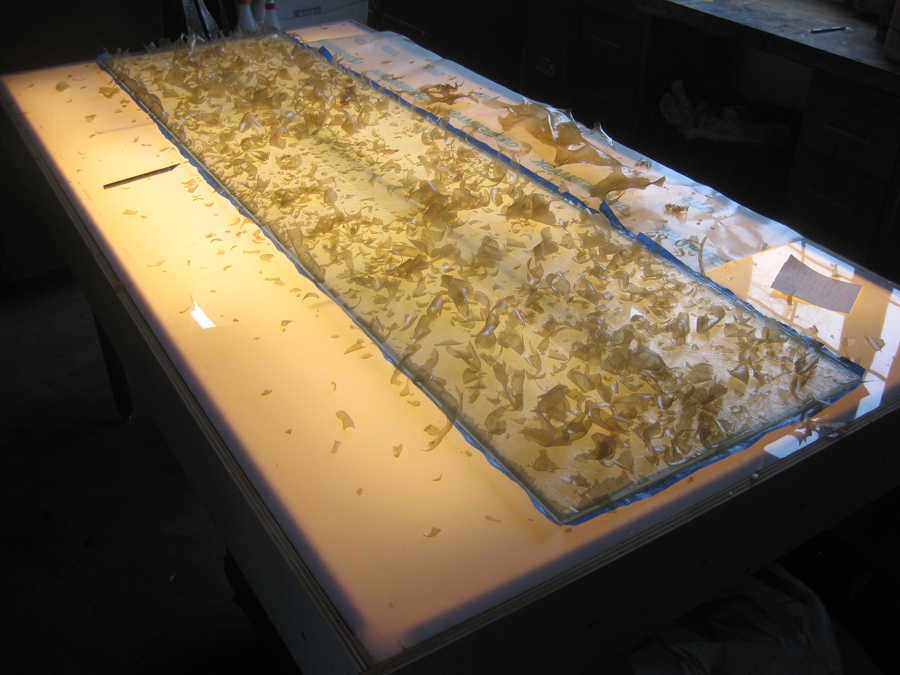
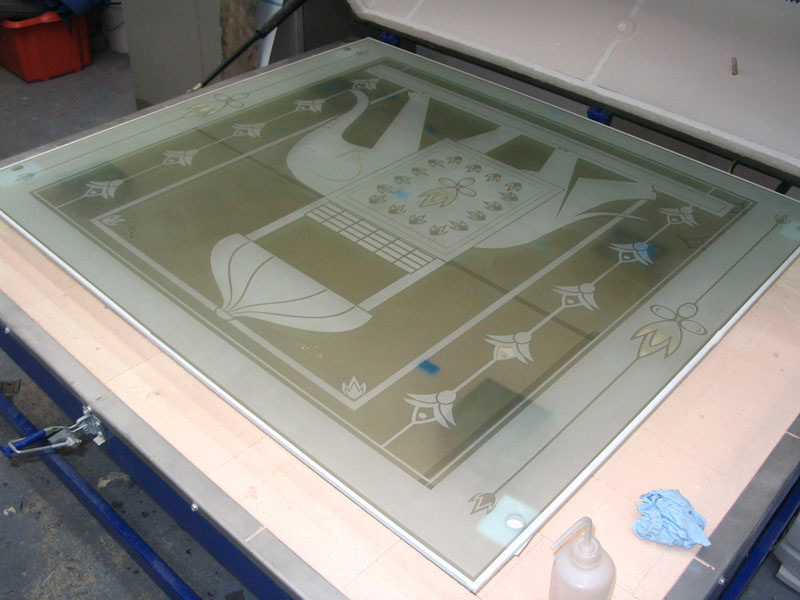
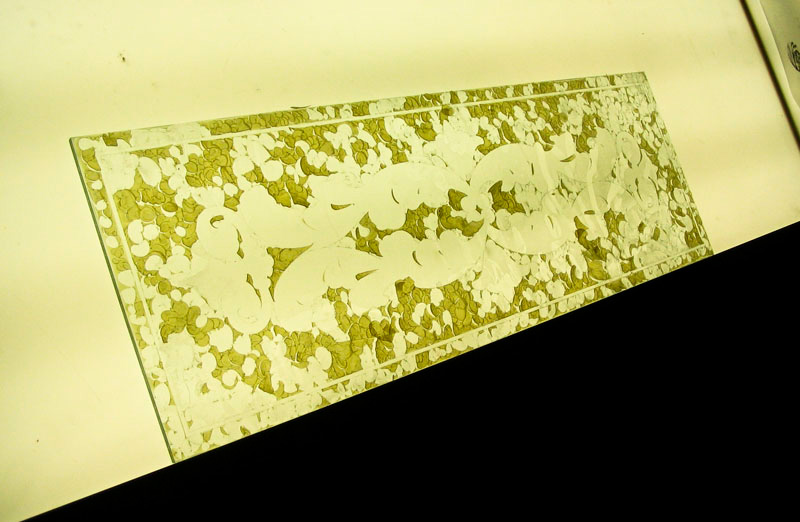
- Glue chipped panel by Jeff Lang Pittsburg using the light box method.


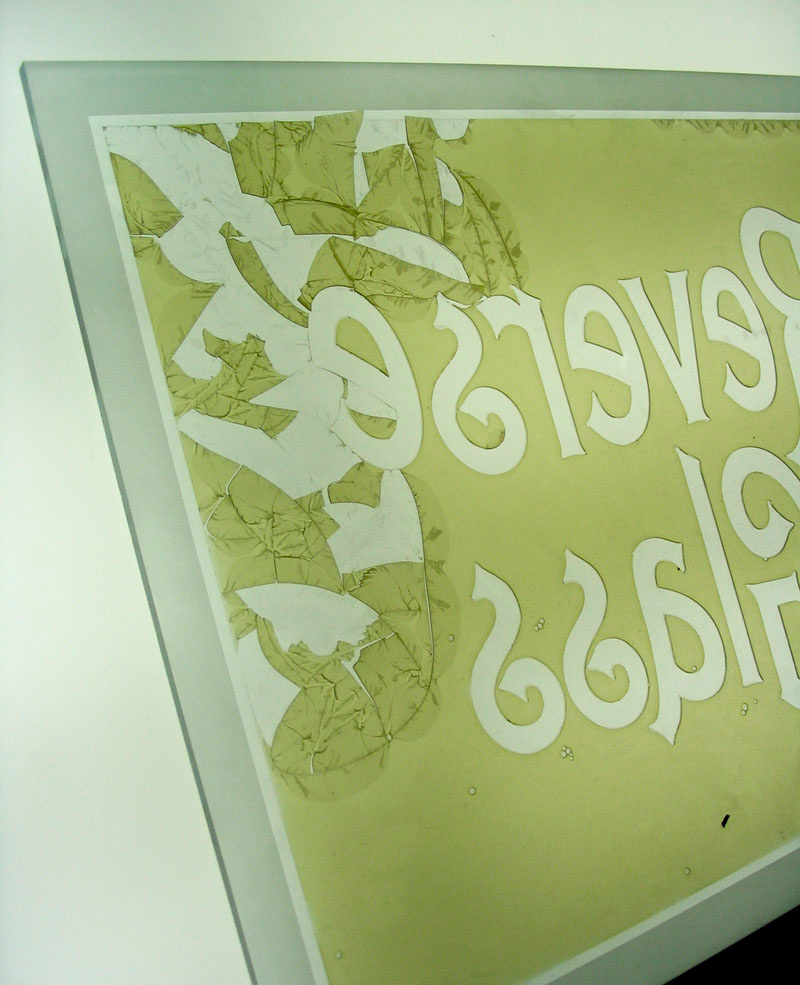


-

- Glue Chipped Glass